Installing Mods for American Truck Simulator or Euro Truck Simulator 2 is a very simple task. I created this video to walk you through the step by step.
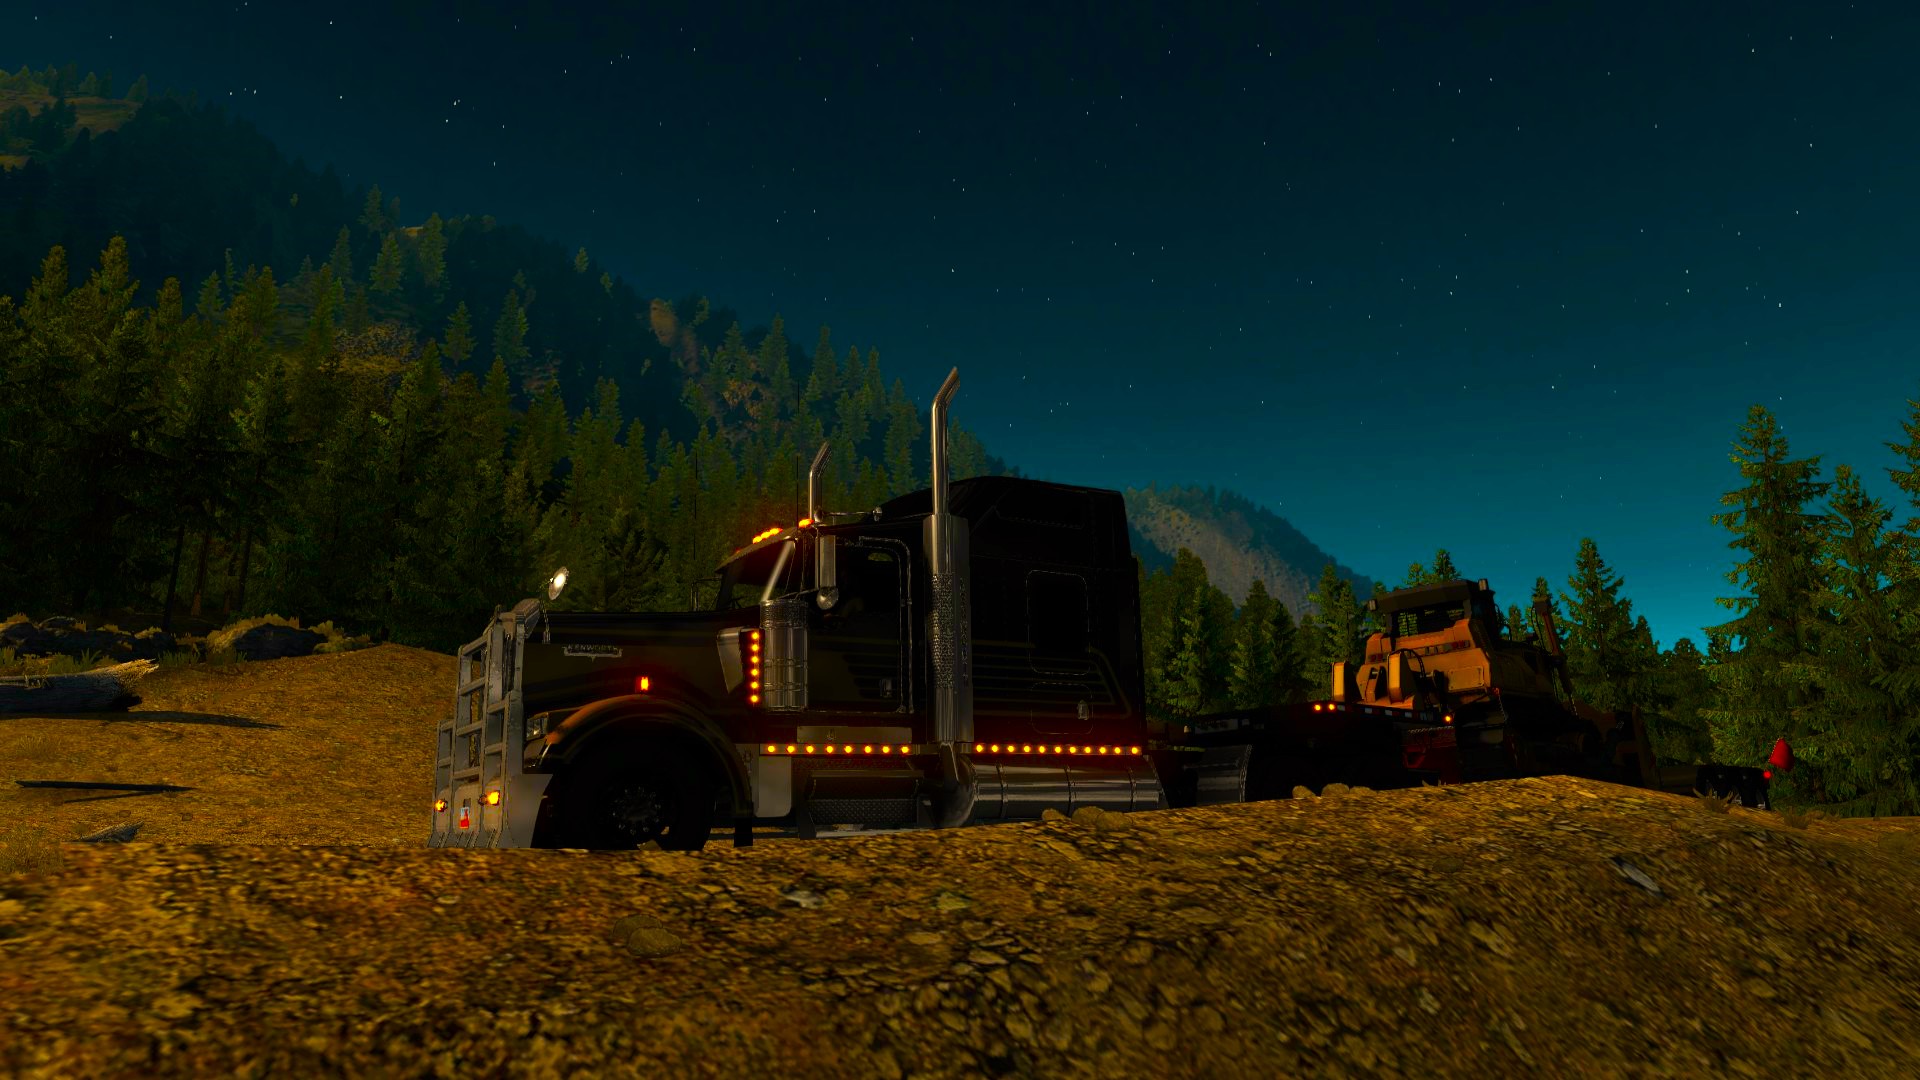
American Truck Simulator is great just the way it is. However, adding specific mods to the game makes it more immersive.
Step 1: Find and Download the mod
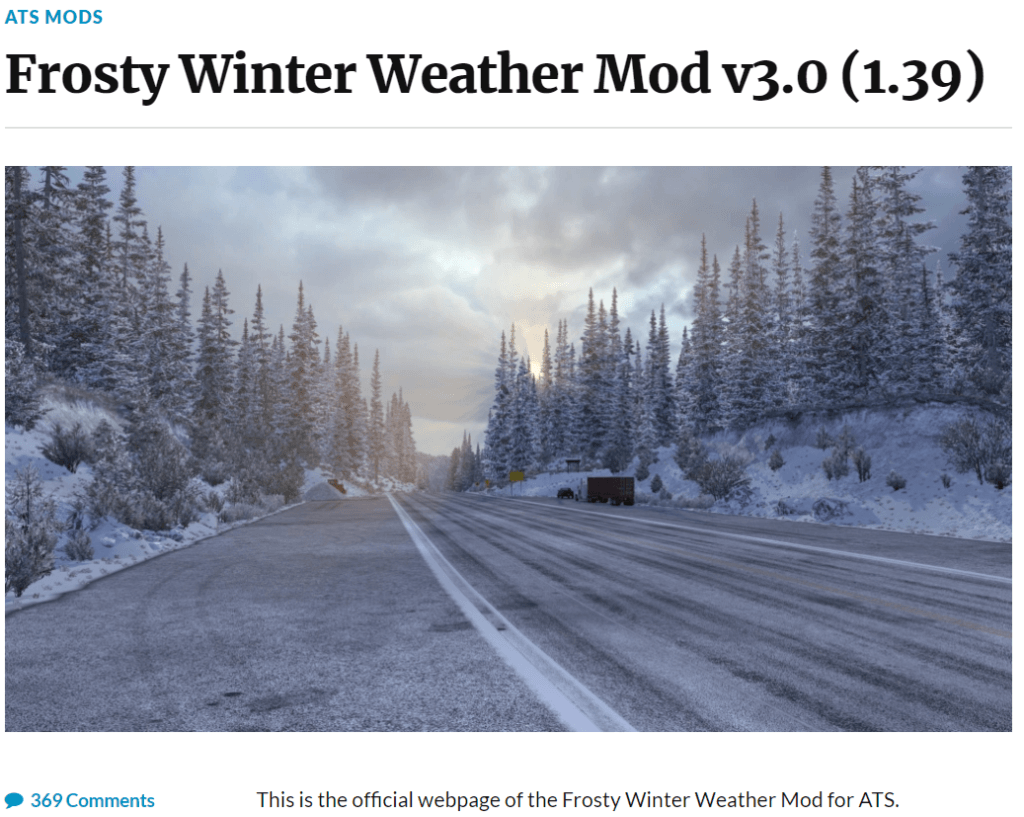
As an example, I am going to download and install the Frosty Mod for American Truck Simulator.
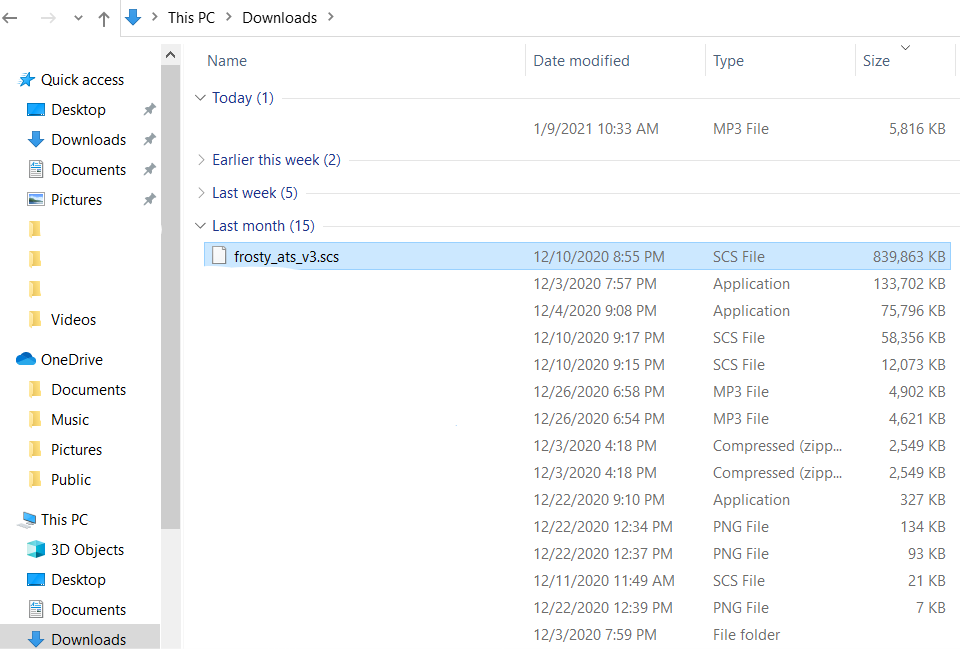
Download the mod and locate the file you just downloaded. It may be in your ‘Downloads‘ Folder.
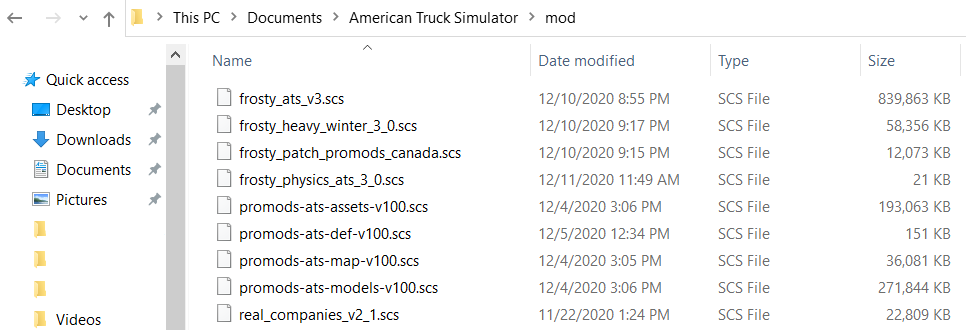
Step 2: Transfer the file to the ‘mod’ folder in ATS
If the file you downloaded is already a .SCS file, all you have to do is transfer it to the ‘mod’ folder for American Truck Simulator.
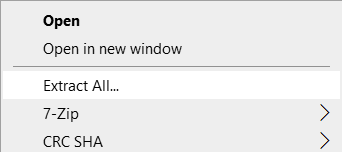
If the file is NOT already a .SCS file, you will need to extract the file first, then transfer the .SCS file to your ‘mod’ folder. So, you will need to extract the contents of the folder to another folder (or desktop) then transfer the .SCS file to the ‘mod’ folder.
Step 3: Activate the mod in the ‘Mod Manager’
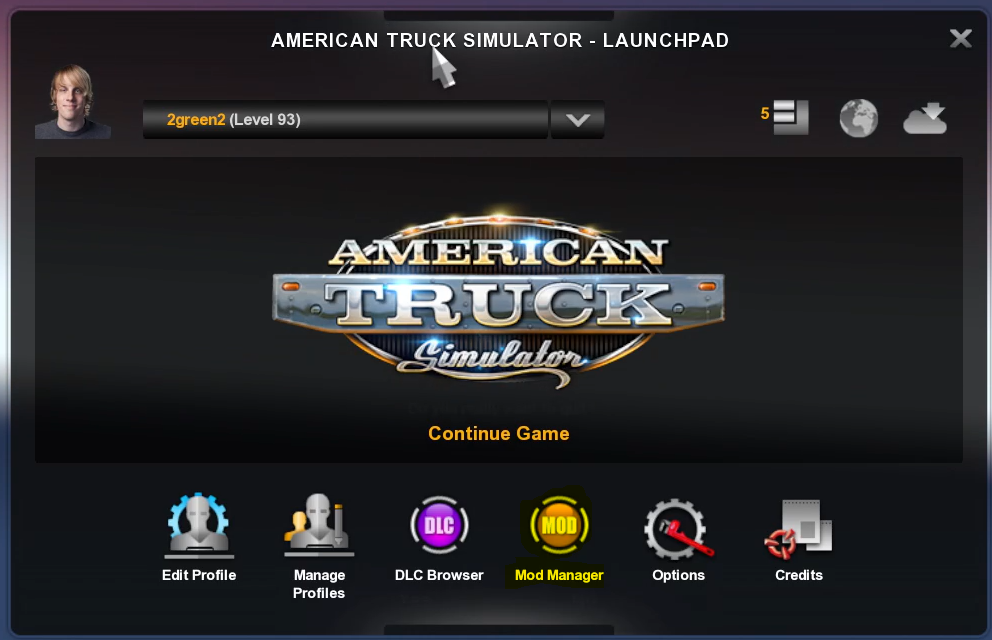
Once the file is in the ‘mod’ folder, open American Truck Simulator and click the ‘Mod Manager’.
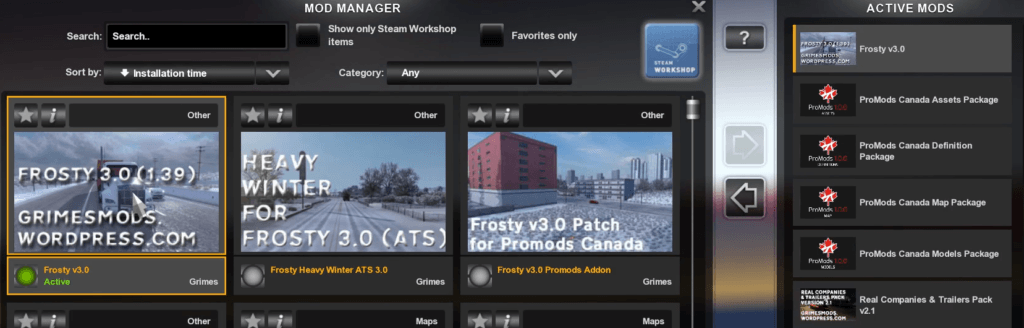
To activate a mod, all you need to do is double-click the mod and it will be sent to the ‘Active Mods’ section on the right side.
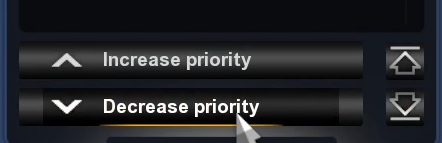
You may need to change the priority of the mod depending on what the mod creator says is the best order. The order of the mods can determine if the mod will work or not. If the mod doesn’t work, you may need to change the order of the mods.
Step 4: Start the game and Enjoy!
That is it. The mod is now activated and should work when you start the game. Your truck may be re-parked to your home garage.